The official blog for Numerous. Life's most important numbers available at a glance.
Internet all the Things! with Numerous and littleBits
Colin Loretz
17 August 2015
Numerous <3 Internet of Things
Why do we love the Internet of Things? Well, it turns out once you stick a sensor on something it starts creating a lot of numbers. Today we're going to show you how to add those numbers to Numerous using littleBits and IFTTT.
Let's start building!
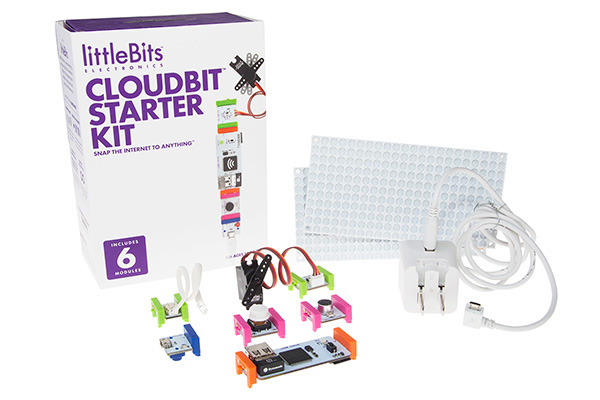
Step 1: Acquire a cloudBit Starter Kit or cloudBit Module
You will need a cloudBit standalone module or cloudBit Starter Kit in order to communicate with the web.
We've picked up the cloudBit Starter Kit and a few extra modules including the temperature sensor to see what "cloud magic" we can perform with our littleBits and Numerous.
Step 2: Hook the cloudBit up to the internet
Open up your cloudBit and plug it into the wall using the USB wall outlet and go to https://littlebitscloud.cc/ to connect it to the web. littleBits will step you through the process with their fantastic step-by-step guide.
Step 3: Connect littleBits to Numerous with IFTTT
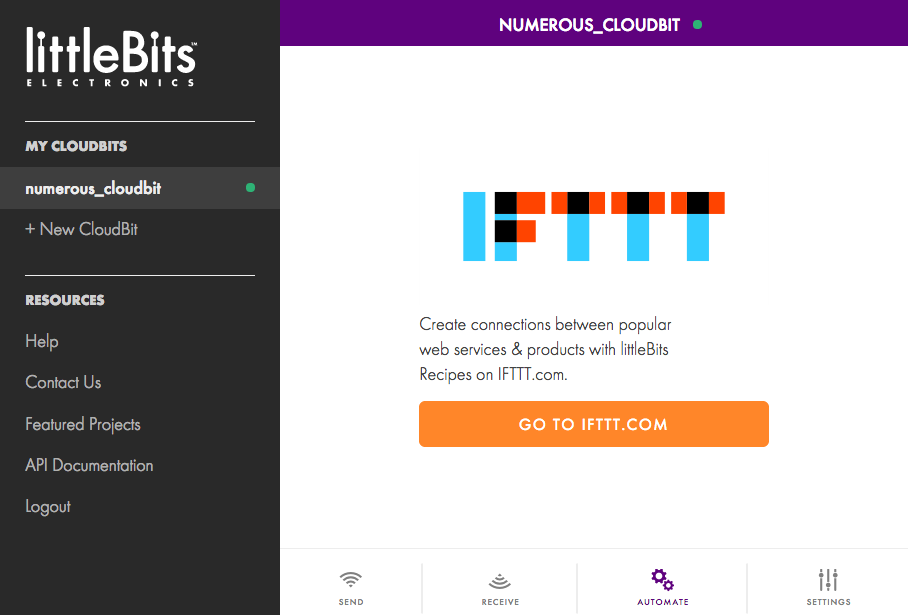
Once you're online, we will connect the cloudBit to Numerous using IFTTT. To do so, go to the Automate tab in the littleBits dashboard and click Go to IFTTT.com. Login or create an account and link your littleBits account to IFTTT.
Creating a button counter with Numerous and littleBits
Setup your bits
In this example, we'll hook up a button that increments a number in Numerous every time it is pressed.
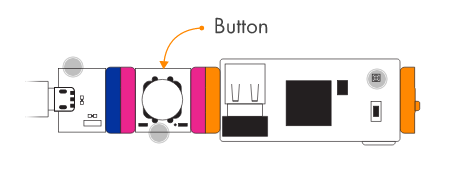
You will need to connect the USB power, button and cloudBit modules together, as shown here.
Setup IFTTT
Click on this to get started and search for littleBits.

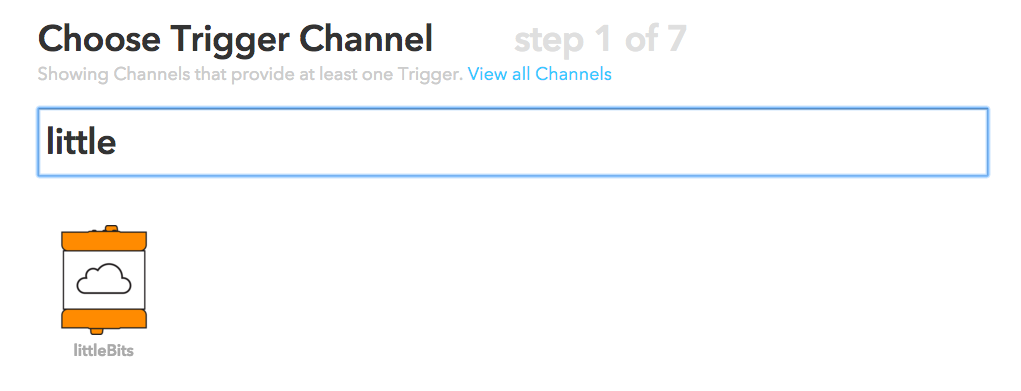
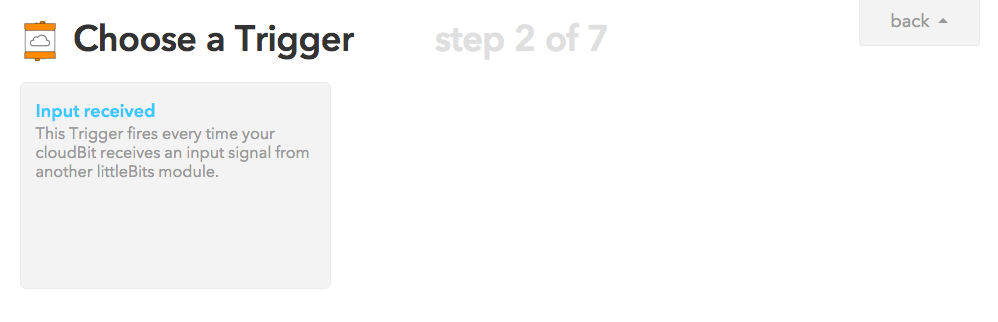
We are going to trigger this recipe every time the cloudBit senses input so let's select the Input received trigger.
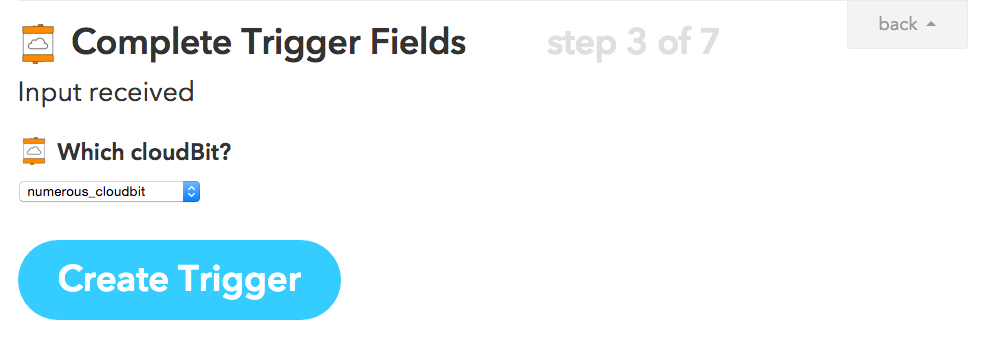
From the dropdown, select the cloudBit you'd to use for input. littleBits allows you to hook up more than cloudBit to your littleBits Cloud Control and you should see them all here. We will select the numerous_cloudbit we setup in step 2.
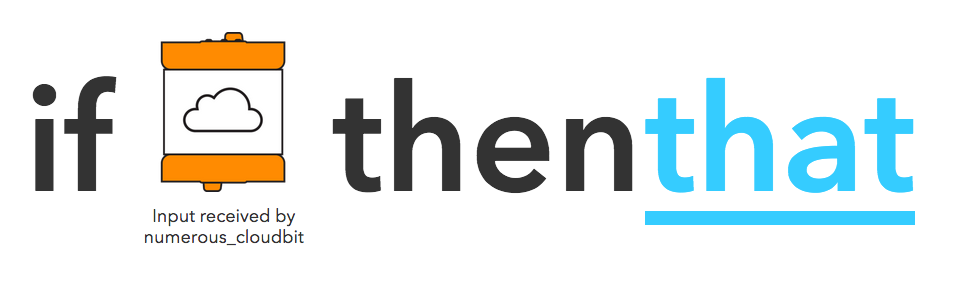
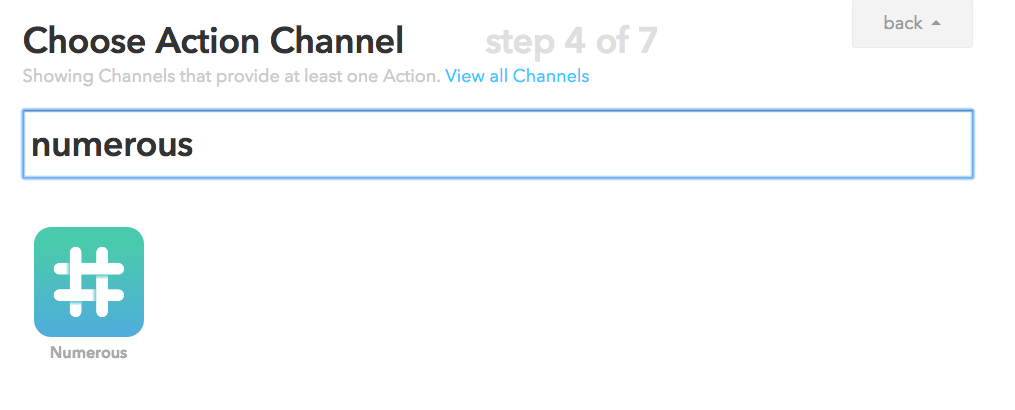
Now it's time to add Numerous to the mix. Click on that and search for Numerous.
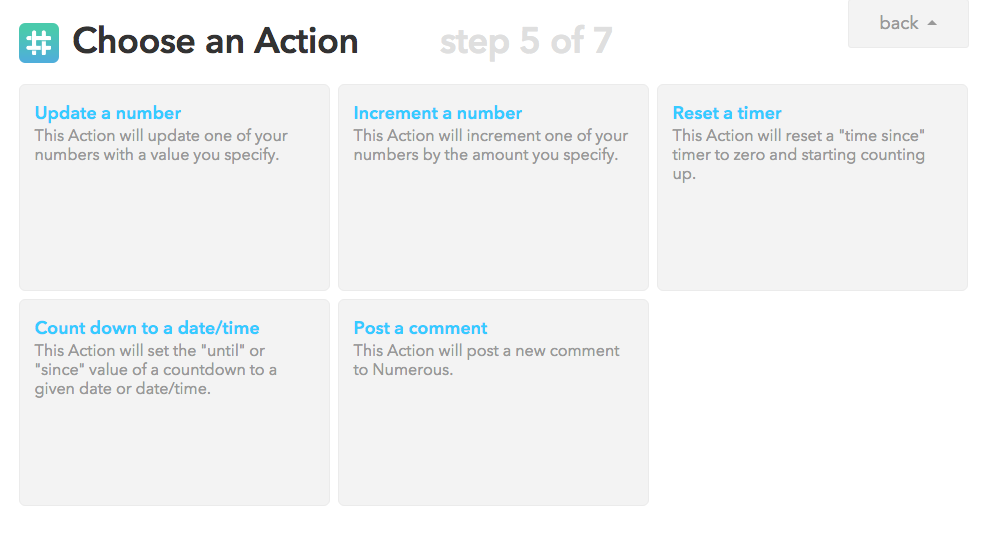
We now have a few options for Numerous actions. For this project, we're going to use Increment a number but feel free to experiment with the other actions to see what awesome numbers you can come up with!
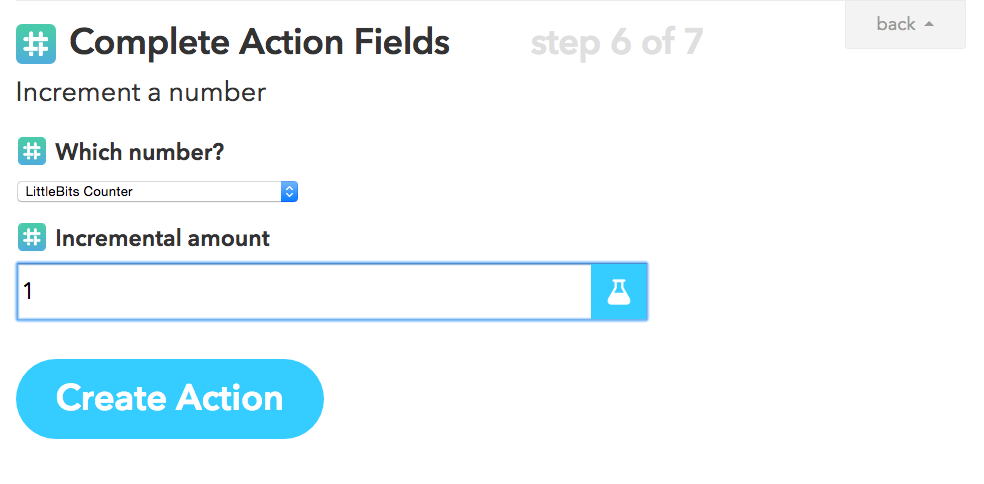
Now we need to select the number that we will have IFTTT increment. You can create a new number inside of Numerous and select it here or pick an existing number. For this example, I've created a number called littleBits Counter and have selected it in IFTTT.
You will also need to enter the value you'd like to increment the number by. I'm going to use 1 but feel free to use whatever value you'd like to use.
Save your recipe and you're ready to try it out!
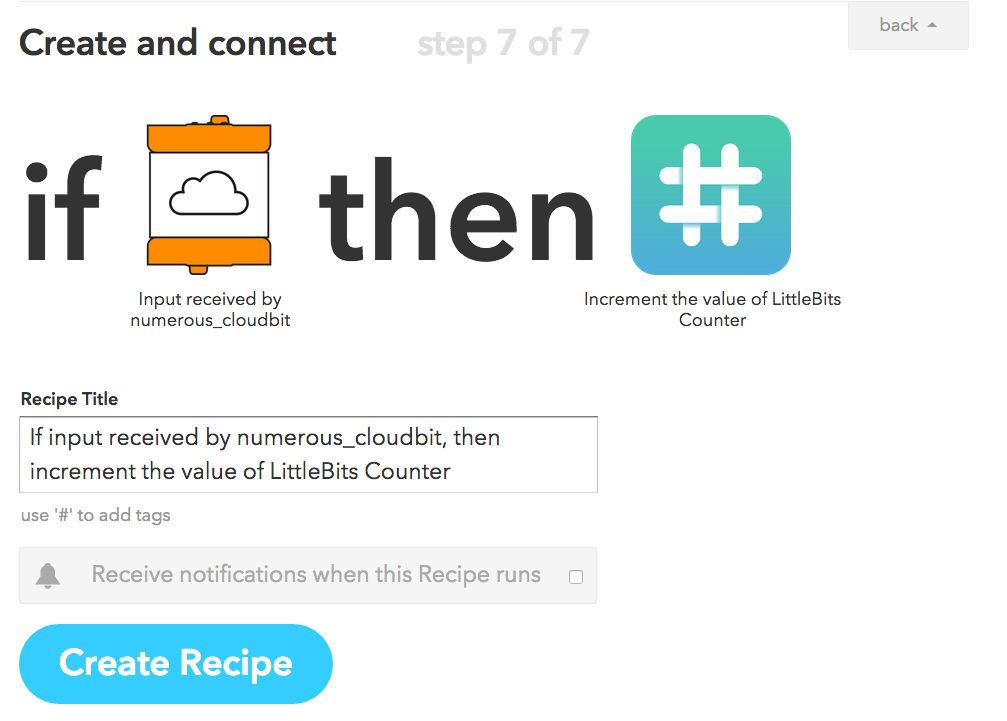
That’s it! You should now be able to press the button and see the number increment in Numerous automatically. Protip: it seems as though the button requires a "long-press" to fire accurately so try pressing down for a whole second before letting go.
What will we think up next!?
We have a lot more cool Internet of Things topics coming your way but we'd love to see what you come up with as well. What other recipes can you think of with IFTTT, littleBits and Numerous? Take a look at the littleBits temperature sensor or sound trigger for inspiration!